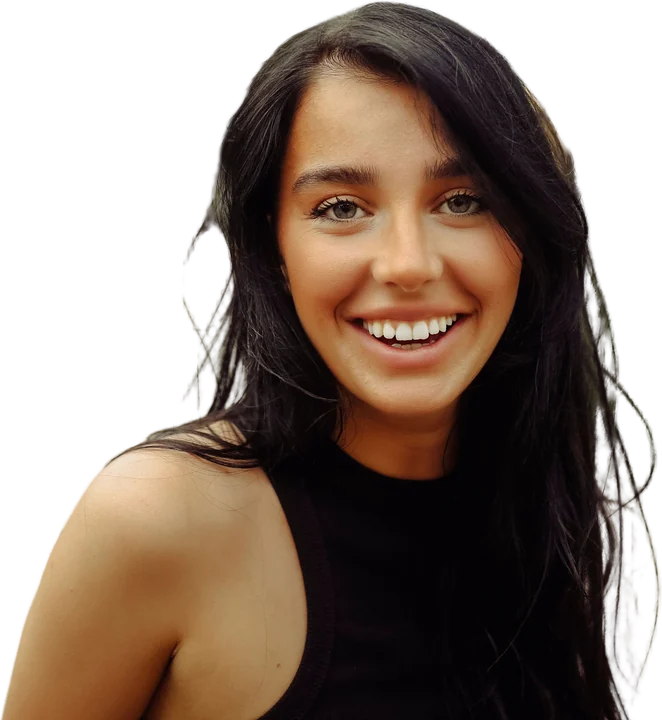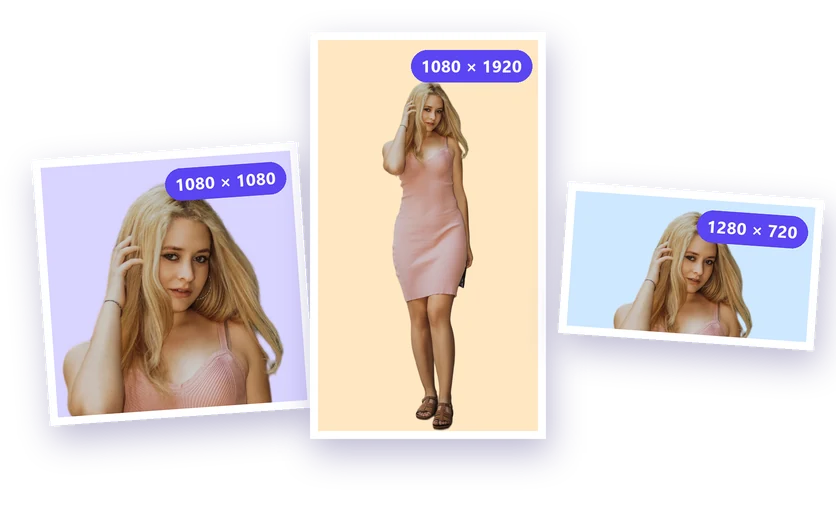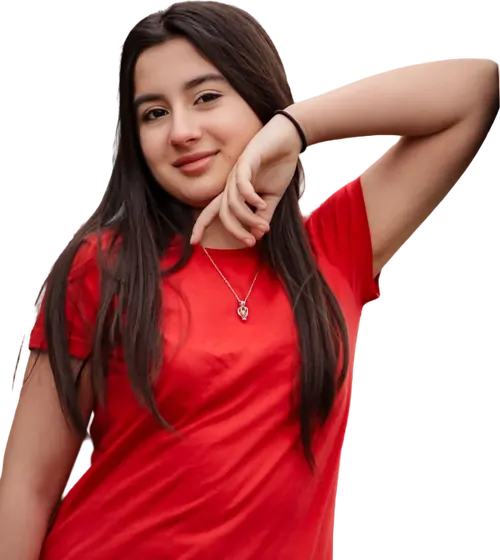
Your profile picture is often the first thing people see on LinkedIn, in an email, on a CV or in a team chat. A clear, friendly photo makes you look approachable and trustworthy; a dark, cropped holiday snapshot does the opposite. You don't need a photographer: a good phone photo and a clean background are enough for a professional result. Here's how to take the photo, replace the background and size it for every platform.
What makes a profile picture look professional?
- Your face is the focus: head and shoulders, centred, filling most of the frame.
- Good light: soft and even, with no harsh shadows across your face.
- A calm background: plain, softly blurred or a subtle colour, with nothing distracting behind you.
- A natural expression: a relaxed smile and eyes looking at the camera.
- Up to date: it should look like you do today.
1. Take the right photo
- Face a window for soft, even light on your face. Avoid overhead lights and direct midday sun.
- Hold the camera at eye level, about an arm's length away, or better, ask someone to take it from 1–2 metres away. A slightly longer distance looks more flattering than a close selfie.
- Keep your head and shoulders in the frame, with a little space around them.
- Wear plain clothes that stand out from what's behind you. Solid colours work better than busy patterns.
- Take several photos and pick the best one; small changes in expression make a big difference.
- Turn off strong beauty filters: they make skin look plastic and blur the edges of your hair.
2. Remove the background
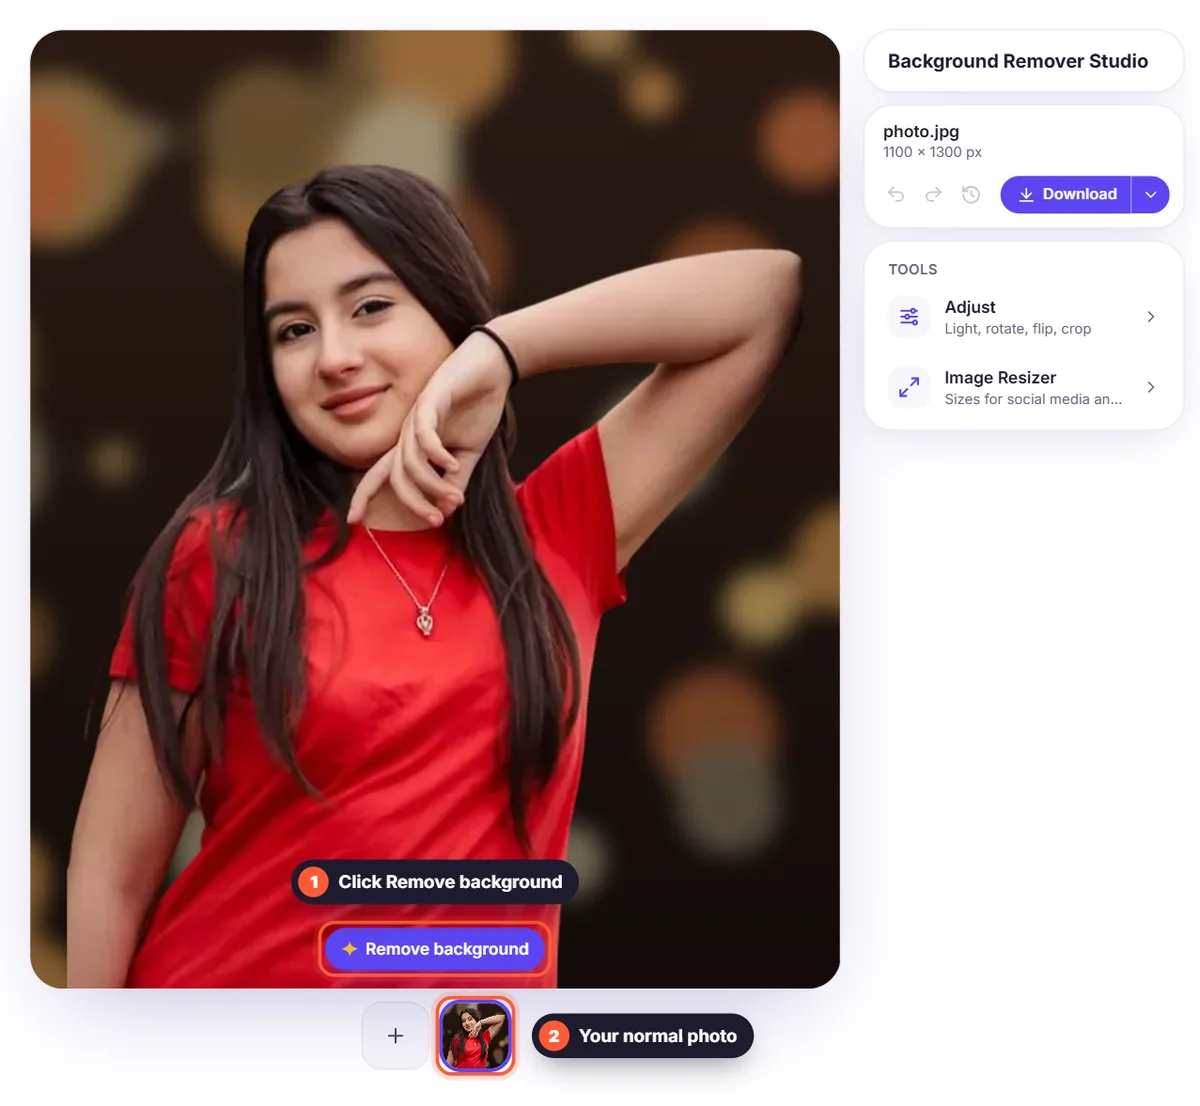
Upload the photo to the background remover and click Remove background. Hair and the outline of your shoulders are kept, so the result looks natural. If your hair is curly or very fine, start from a sharp photo for the cleanest edges. Our article on why hair is hard for background removal explains why.
3. Pick a background that fits
For LinkedIn and CVs, a light grey, white or soft colour looks calm and professional. The Studio scenes under Background give the look of a photo studio backdrop in one click. For social media you can be bolder: try a brand colour or a gradient. A gentle Blur of your original photo also works well if you want a natural look, like a portrait taken with a professional camera.
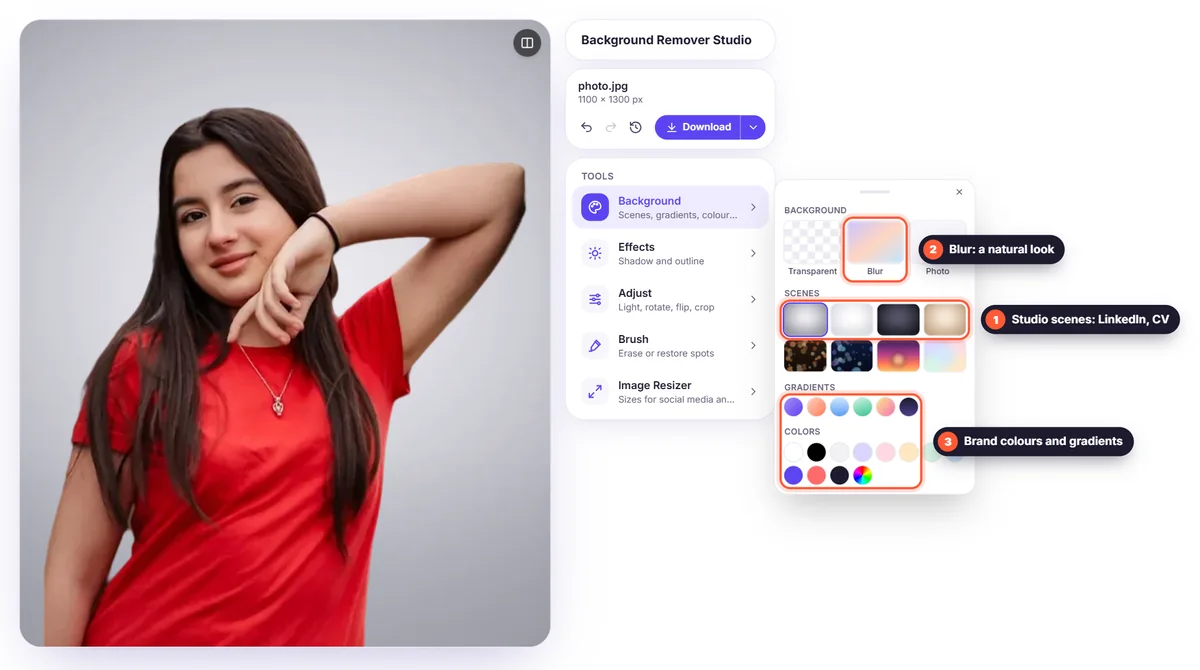
- LinkedIn, CV, company website: Studio grey, Studio white, light grey or a soft blur.
- Creative jobs and personal brands: a brand colour or a subtle gradient.
- Team pages: agree on one background for everyone, so all photos look like a set.
- Dating and social apps: a natural blur keeps it personal without a messy background.
4. Adjust the light
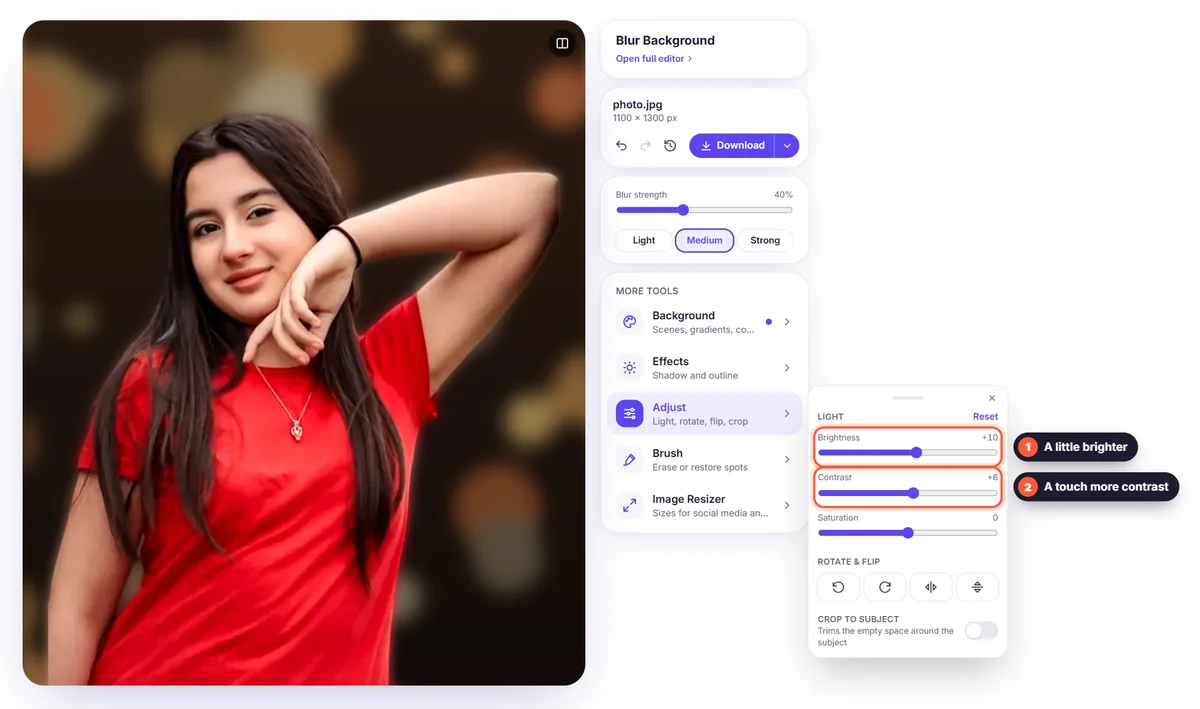
Open Adjust if the photo looks a little dark or grey: raise the brightness and contrast slightly. Keep it subtle; the goal is to look like yourself on a good day, not edited. If the new background is much brighter or darker than your original surroundings, small adjustments help the photo look natural.
5. Crop and size it for each platform
Most profile pictures are shown as a circle or a square, so keep your face in the centre with some space above your head and make sure nothing important sits in the corners. Use Adjust → Crop to subject, then open the image resizer and choose a square size, such as the Instagram post preset (1080 × 1080 px), which works for nearly every platform.
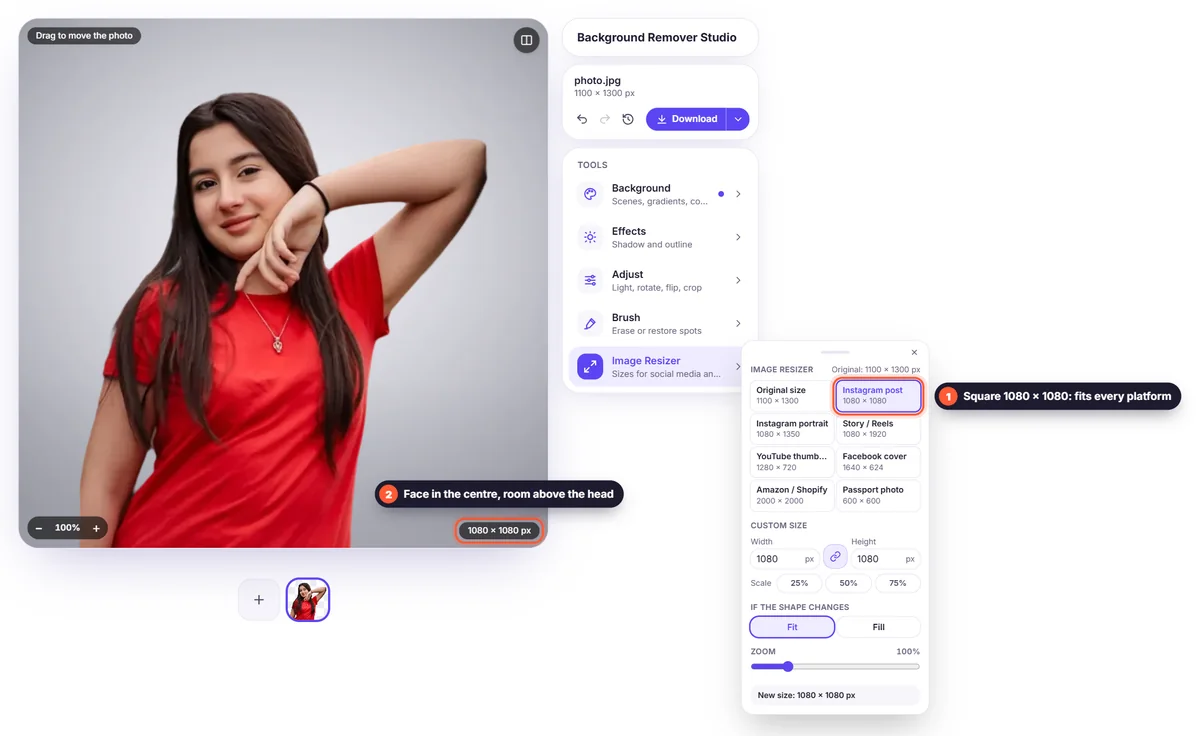
- LinkedIn: square, at least 400 × 400 px; 1080 × 1080 px looks sharp everywhere. Shown as a circle.
- Email (Gmail, Outlook) and Teams/Slack: square; shown as a small circle, so keep your face large in the frame.
- CVs: a small portrait or square photo in the top corner; download as JPG or PNG.
- Company websites: whatever shape the team page uses. Make all photos the same size and background.
6. Download
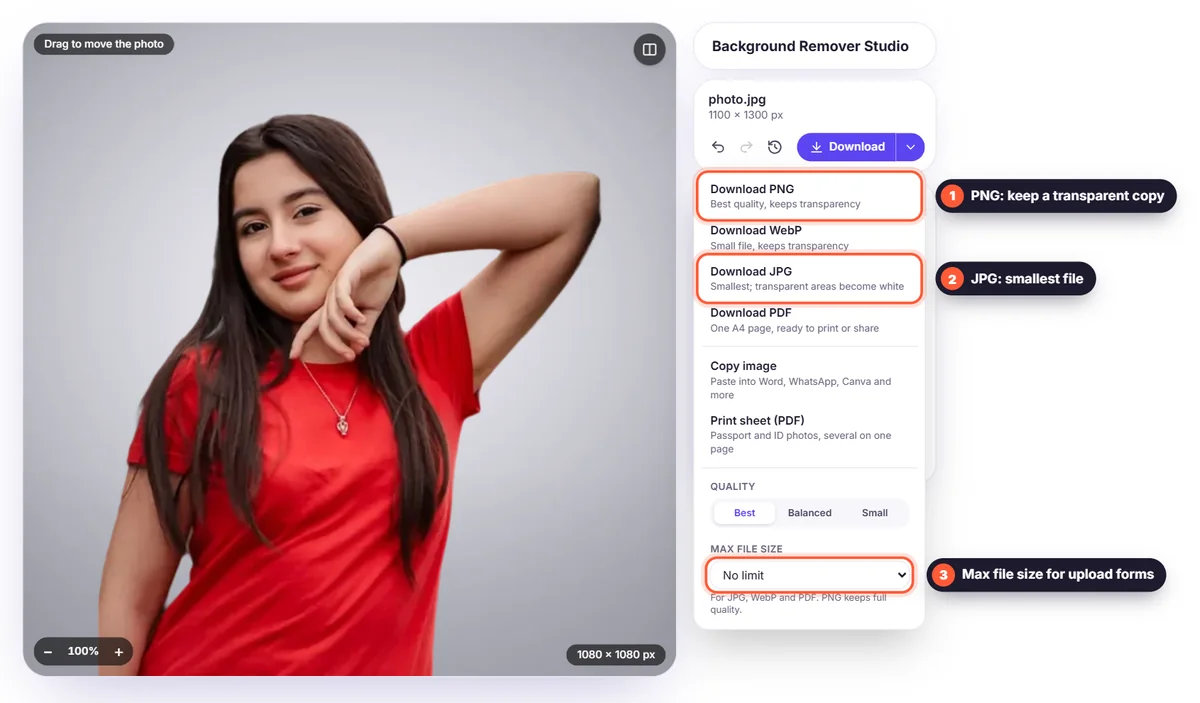
Download as PNG or JPG; both are accepted everywhere. JPG gives the smallest file, which is handy for upload forms with a size limit (set Max file size in the Download menu). Also save a transparent PNG, so you can change the background later without starting over.
Use the same picture everywhere
Using one consistent photo across LinkedIn, email, your website and social media makes you easier to recognise. People connect your name with your face faster, which matters when you meet them in person or online. Update it every couple of years, or after a big change in how you look.
Common mistakes to avoid
- Cropping yourself out of a group photo: there's often part of someone else's shoulder or face left.
- Sunglasses, hats or a phone in front of your face.
- A photo taken from far below or above, which distorts your face.
- Very busy or dark backgrounds that make you hard to see in a small circle.
- Low resolution: a blurry photo looks careless. Start from your phone's main camera at full quality.
Profile pictures for a whole team
A team page looks most professional when every photo matches. Agree on a few simple rules before anyone takes a photo: head and shoulders, facing the camera or slightly turned, a window in front, plain clothes. Then let everyone send in a phone photo and replace all backgrounds with exactly the same colour or scene. Save the colour under Your colours so it's identical for every photo. You can add all the photos to the editor at once, give them the same size with Apply to all in the image resizer and download them together as a ZIP file.
Quick checklist before you upload
- Your face fills most of the square, centred, with a little space above your head.
- Your eyes are sharp and looking at the camera.
- The light is even, with no dark shadow on one side of your face.
- The background is calm and doesn't compete with you.
- The edges around your hair and shoulders look clean on the new background.
- The photo still looks good as a small circle: shrink it on screen and check.
- The file is at least 400 × 400 px; 1080 × 1080 px is better.
If everything is ticked, your photo is ready for LinkedIn, your CV and every other profile. Keep the transparent PNG so you can update the background in a few seconds whenever your style or your company's colours change.
Frequently asked questions
What is the best background for a LinkedIn profile picture? A plain, light background such as light grey or white, or a soft blur. It keeps the focus on your face and looks professional.
Can I make a professional headshot with my phone? Yes. Good window light, a camera at eye level and a clean background are what make a headshot look professional, not an expensive camera.
What size should my profile picture be? A square of at least 400 × 400 px; 1080 × 1080 px is a safe choice for every platform.
Is it free? Yes. Removing the background, changing it and downloading in full quality is free, with no account and no watermark.
Is my photo stored? No. Your image is processed only to remove the background and is not stored. See our privacy policy.