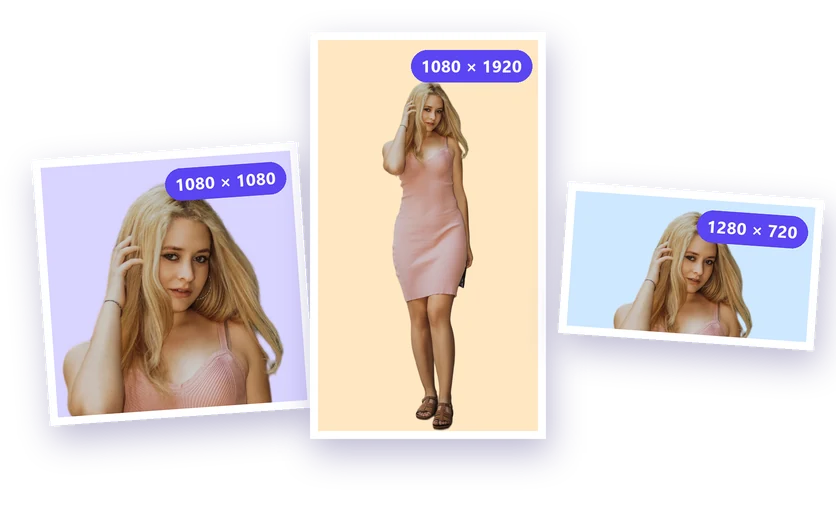
Passport and ID photos are surprisingly expensive at a photo booth or a print shop, and you often pay for four or six copies when you need two. You can make them at home instead. With a passport photo print sheet, you get several copies of your photo at the exact official size on one page, ready to print and cut. This guide walks you through the whole process: taking a photo that will be accepted, giving it a correct background, choosing the right size for your country and printing it so every copy comes out at the exact size.
What is a passport photo print sheet?
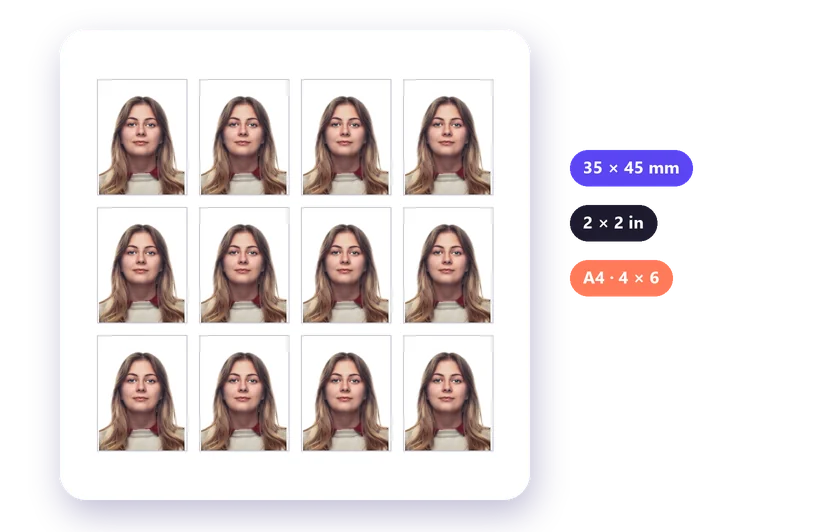
A print sheet is a single page, A4, US Letter or a 4 × 6 in photo print, filled with identical copies of your photo, each one at the exact size an authority asks for. Instead of printing one photo and trying to resize it by hand, you print the sheet at actual size and cut along thin guide lines. One sheet usually holds enough copies for a passport, a visa, an ID card and a few spares.
How to make a passport photo print sheet in 5 steps
- Take a photo facing the camera in even light, against a plain wall (tips below).
- Upload it to the background remover and click Remove background.
- Under Background, choose white, or the colour your country asks for, such as light grey or light blue.
- Open the Download menu and choose Print sheet (PDF).
- Pick the photo size and the paper, then click Download PDF and print it at 100 %.
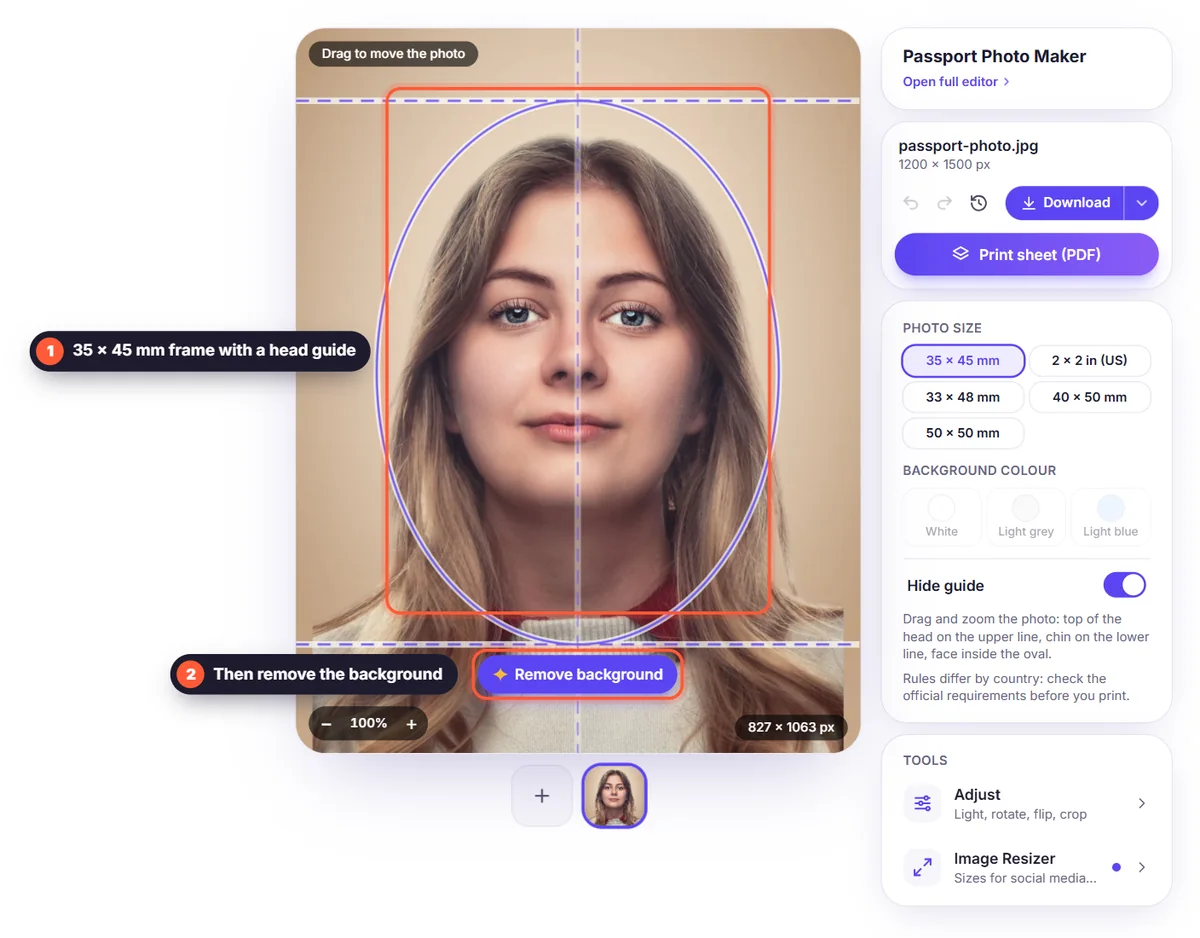
The whole process takes about two minutes, it's free, and you don't need an account. Your photo is processed only to remove the background and isn't stored.
Step 1: Take a photo that will be accepted
Most rejected passport photos fail because of the photo itself, not the size. Before you think about printing, get these basics right:
- Light: stand facing a window during the day, so your face is evenly lit. Avoid a single lamp from the side, which leaves one half of your face in shadow.
- Distance: ask someone else to take the photo from about 1 to 1.5 metres away, at your eye level. Selfies at arm's length distort the face and are often refused.
- Pose: face the camera straight on, with your shoulders level. Keep a neutral expression with your mouth closed and both eyes open.
- Framing: include your whole head, your neck and the top of your shoulders, with space above your head. You can crop it later; you can't add what isn't there.
- Background: a plain, light wall is easiest, but it doesn't have to be perfect. The background is replaced in the next step anyway.
- Glasses and hair: many countries no longer allow glasses. Keep hair away from your eyes and make sure your face is fully visible.
Step 2: Make the background white (or the colour you need)
Upload the photo and click Remove background. The AI cuts you out, hair included, in a few seconds. Then open Background and pick a colour. Most countries ask for a plain white or off-white background; some ask for light grey or light blue. A solid colour from the editor is perfectly even, with none of the shadows or texture of a real wall, which is exactly what officials want.
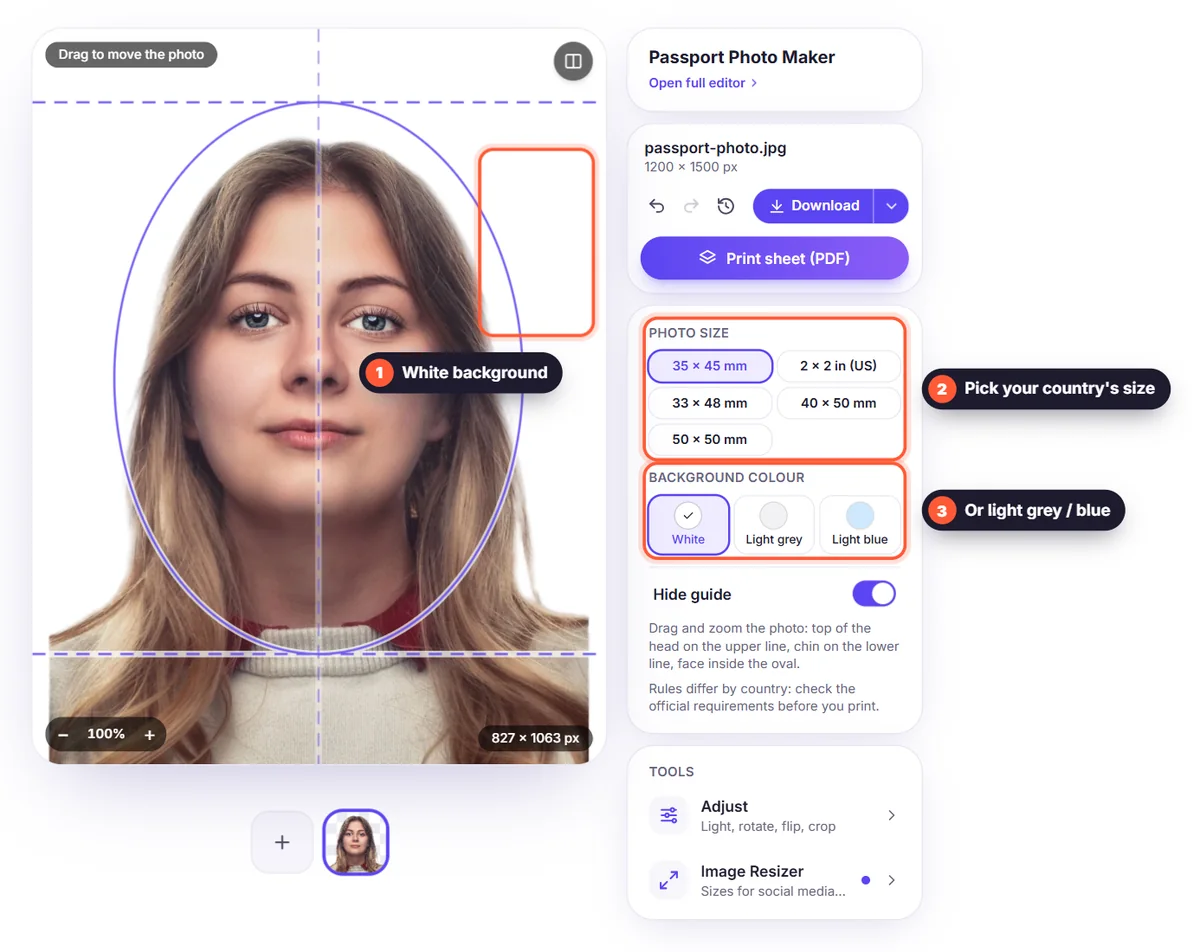
If the photo looks a little dark, open Adjust and raise the brightness slightly. Keep it natural: passport rules forbid edits that change how you look, so don't smooth skin, change colours or remove features. Only fix the light.
Step 3: Choose the right passport photo size
The print sheet offers the most common official sizes:
- 35 × 45 mm: most of Europe (including the Schengen area), the UK, India, Pakistan, Australia, New Zealand and many other countries.
- 2 × 2 in (51 × 51 mm): the United States, for passports and most visas.
- 33 × 48 mm: China (visa photos).
- 40 × 50 mm and 50 × 50 mm: some other visas, residence permits and ID cards.
The size of the photo is only half of the rule. Most countries also say how big your head must be inside the photo, for example that the face from chin to the top of the head should fill about 70–80 % of the height. Always check the official website of the authority you're applying to, because the rules change and differ between passports, visas and ID cards.
Step 4: Position your face
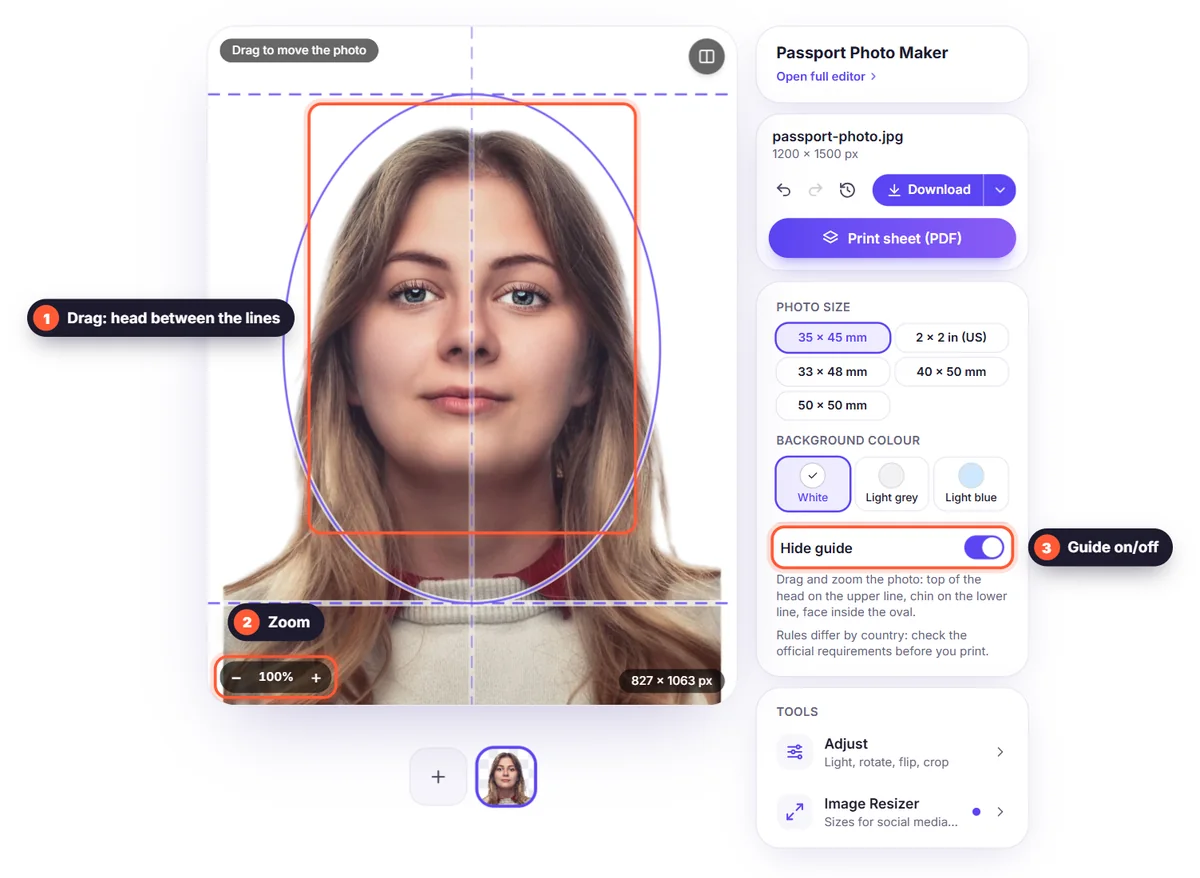
To get the head size right, use Adjust → Crop to subject: it trims the empty space around you, and the Padding slider adds back an even margin. For a precise square, such as the US 2 × 2 in, open the image resizer, choose the Passport photo preset, then zoom and drag the photo until your head sits in the centre with the right amount of space above it.
Step 5: Print the sheet at the exact size
In the Download menu, choose Print sheet (PDF), pick the photo size and the paper, A4, Letter or 4 × 6 in, and the preview shows how many copies fit on one page. Click Download PDF. When you print it:
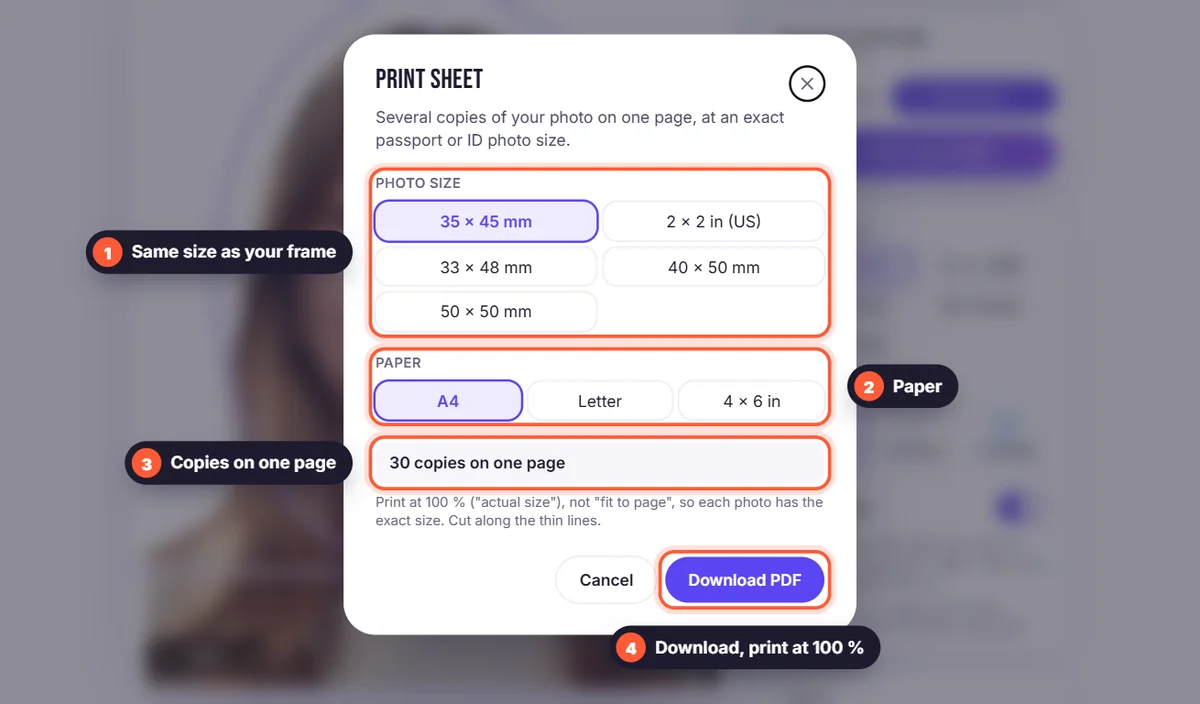
- Print at 100 % or "actual size", never "fit to page". Scaling changes the size of every photo and is the most common reason home-printed passport photos are rejected.
- Use photo paper for the best result, ideally matte or semi-gloss. Ordinary office paper is usually not accepted.
- No photo printer? Upload the PDF to a print shop or a pharmacy photo kiosk and order a 4 × 6 in print. It costs very little and the quality is excellent.
- Cut along the thin grey lines with a ruler and a sharp knife or scissors, so the edges are straight.
Check the size after printing
Before you cut, measure one photo with a ruler. A 35 × 45 mm photo should measure exactly 35 mm wide and 45 mm high. If it's even a few millimetres off, your printer scaled the page: look for a "scale", "fit" or "shrink oversized pages" option in the print dialog, set it to 100 % and print again.
Tips for an accepted photo
- Look straight at the camera with a neutral face and your eyes open.
- Avoid shadows on your face and behind you; the white background from the editor takes care of the second one.
- Don't wear glasses if your country doesn't allow them, and remove hats and headphones (religious head coverings are usually allowed).
- Use Adjust only to fix brightness a little, without changing how you look.
- Use a recent photo: most authorities ask for one taken within the last six months.
- Print a few spare copies: you'll often need another one sooner than you think.
Passport photos for children and babies
Babies can't sit still against a wall, so lay the baby on a plain white sheet and take the photo from above, or hold them against a white blanket. Make sure your hands aren't visible. Rules for babies are usually more relaxed: their eyes may not need to be fully open and the expression doesn't have to be neutral. The background can be fixed afterwards with Remove background and a white colour, exactly as for adults.
Digital photos for online applications
Many applications are now online and ask for a digital photo instead of a print, often with a minimum size in pixels and a maximum file size. Use the Passport photo preset in the image resizer for a square photo, or enter the exact pixel size the form asks for. In the Download menu, choose JPG and set Max file size, for example under 240 KB, if the form has an upload limit.
Frequently asked questions
Can I really print my own passport photos? Yes, in most countries home-printed photos are accepted as long as they follow the rules for size, background, lighting and print quality. Some authorities only accept digital photos or photos taken by an approved photographer, so check before you print.
Which paper should I use? Photo paper gives the sharpest, longest-lasting result. A 4 × 6 in print from a shop is the easiest way to get photo quality without a photo printer.
Why is my printed photo the wrong size? The printer scaled the page. Print again with the scale set to 100 % or "actual size", not "fit to page".
Can I use the same photo for a passport and a visa? Often yes, but not always: the US visa uses 2 × 2 in while most other countries use 35 × 45 mm. Make one print sheet per size you need.
Is my photo stored? No. Your image is processed only to remove the background, then discarded. Read our privacy policy for details.